
DIY Rainbow Collage Garland
Children love using colors to make pretty collages! You may use these shapes for a garland, in open-ended play, as game pieces, on cards, for birthday parties and beyond!

You will need:
12 silk pieces, or you may choose to buy our Playsilk Scrap Bags
Mod Podge
Wax Paper
Scissors
Paint Brush
Needle & Thread

Steps
Cut 4-6 of your scrap bag squares into confetti, strips or any shapes you like.


Tape a piece of wax paper shiny side up to your work surface. It must be shiny side up! The piece should be a little larger than your silk so that you have a border of paper around the silk when it is laid on top.
Lay a thick coat of Mod Podge on the wax paper and immediately lay a square of silk on top of the Mod Podge. Coat the silk with a layer of Mod Podge, more is better than less.

Build your silk collage by laying your confetti on top of your wet silk square. Brush Mod Podge over all of the pieces coating them thickly.

Lay your second square of silk over your work, sandwiching your confetti. Once again coat the entire surface with Mod Podge lavishly. Try and remove air pockets in the layers. It is not necessary to get them all out but you will be happier with your finished piece if you work out the larger ones.


After your work is completely dry, peel it off the wax paper. It should be flexible and ready to cut into any shapes you like.


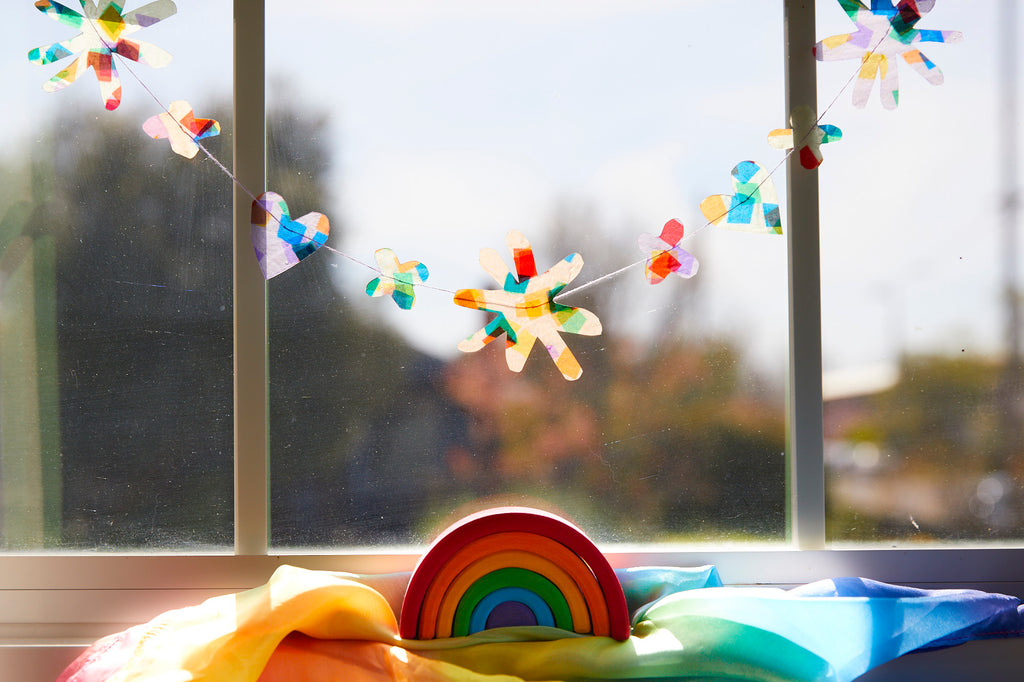
Cut out hearts, flowers, stars or any thing you can imagine! We used a needle and thread to make a garland. The rainbow colors make a beautiful stained glass effect in a window.


We hope you enjoy this fun, rainbow craft for any season!
xoxo,
Sarah